Creating a multi-page PDF in Adobe Photoshop isn’t as direct as in dedicated layout tools, but it’s absolutely possible with the right approach. Whether you’re preparing a portfolio, presentation, or print-ready document, understanding the workflow will help you export a clean, professional multi-page PDF.
Many designers initially assume Photoshop cannot handle multi-page exports because of its single-canvas nature. However, with features like artboards and built-in automation tools, it becomes surprisingly flexible. The key is knowing how to structure your files properly before exporting. A well-prepared document not only saves time but also reduces the risk of formatting issues later. By following a structured workflow, you can ensure your PDF maintains consistent quality, layout, and readability across all pages.
For many writers, authors, and ebook writers, especially those working on digital books or formatted manuscripts, Photoshop becomes a useful tool for combining written content with visual design elements. However, unlike traditional writing software or publishing platforms, Photoshop handles multi-page documents differently, which is why understanding its export process is essential for a smooth workflow and professional results.
Understanding Photoshop’s Limitations
Unlike layout software, Photoshop is primarily designed for working on single images or canvases. This means it doesn’t natively support multi-page documents in the same way tools like Adobe InDesign do. However, Photoshop allows you to work with multiple artboards or separate files and then combine them into a single PDF. Knowing this limitation helps you choose the most efficient method for your project.
It’s important to understand that Photoshop treats each design space independently rather than as part of a flowing document. This can affect elements like text continuity, page numbering, and alignment if not managed carefully. While it offers flexibility for visual-heavy designs, it lacks advanced layout features such as master pages or automatic text flow. Recognizing these constraints early allows you to plan your workflow more effectively and avoid unnecessary complications during the export process.
Method 1: Using Artboards for Multi-Page PDFs
Step 1: Create a New Document with Artboards
When creating a new file in Adobe Photoshop, make sure to enable the Artboards option in the new document window. Each artboard will function as an individual page within your final PDF, allowing you to manage multiple pages inside a single project file. You can define the size based on your purpose—common formats like A4, Letter, or custom dimensions depending on whether your document is for print, digital viewing, or presentation.
Choosing the correct dimensions at this stage is crucial because resizing later can disrupt your layout, distort elements, or affect image resolution. It’s also helpful to name each artboard clearly (e.g., Page 1, Page 2, Cover, etc.), especially if your document contains many pages. Organized naming makes navigation easier and reduces confusion when exporting. Additionally, setting up consistent margins, bleed areas (for print), and grid guides at the beginning ensures uniformity across all pages, contributing to a clean and professional final document. Taking a few extra minutes to structure your file properly at this stage can save significant time during later edits and revisions.
Step 2: Design Each Page on Separate Artboards
Add content to each artboard just as you would design individual pages. Each artboard acts as its own canvas, so you can insert images, text, shapes, and other design elements independently while still keeping everything within one file. You can create as many artboards as needed and arrange them in sequence to match the flow of your document.
Maintaining consistent dimensions, margins, and spacing across artboards ensures a polished and professional-looking final PDF. As you design, pay close attention to visual consistency—this includes typography choices, font sizes, color schemes, and alignment. Using shared styles, character styles, or duplicated elements can help maintain uniformity throughout the document.
It’s also helpful to think of your document as a continuous experience rather than isolated pages. Periodically zoom out or switch to a view where you can see multiple artboards at once. This allows you to evaluate how well the pages flow together visually. For example, check whether headings are aligned consistently, whether spacing between sections feels balanced, and whether imagery maintains a cohesive style. This step is especially important for portfolios, reports, or presentations where consistency directly impacts readability and professionalism.
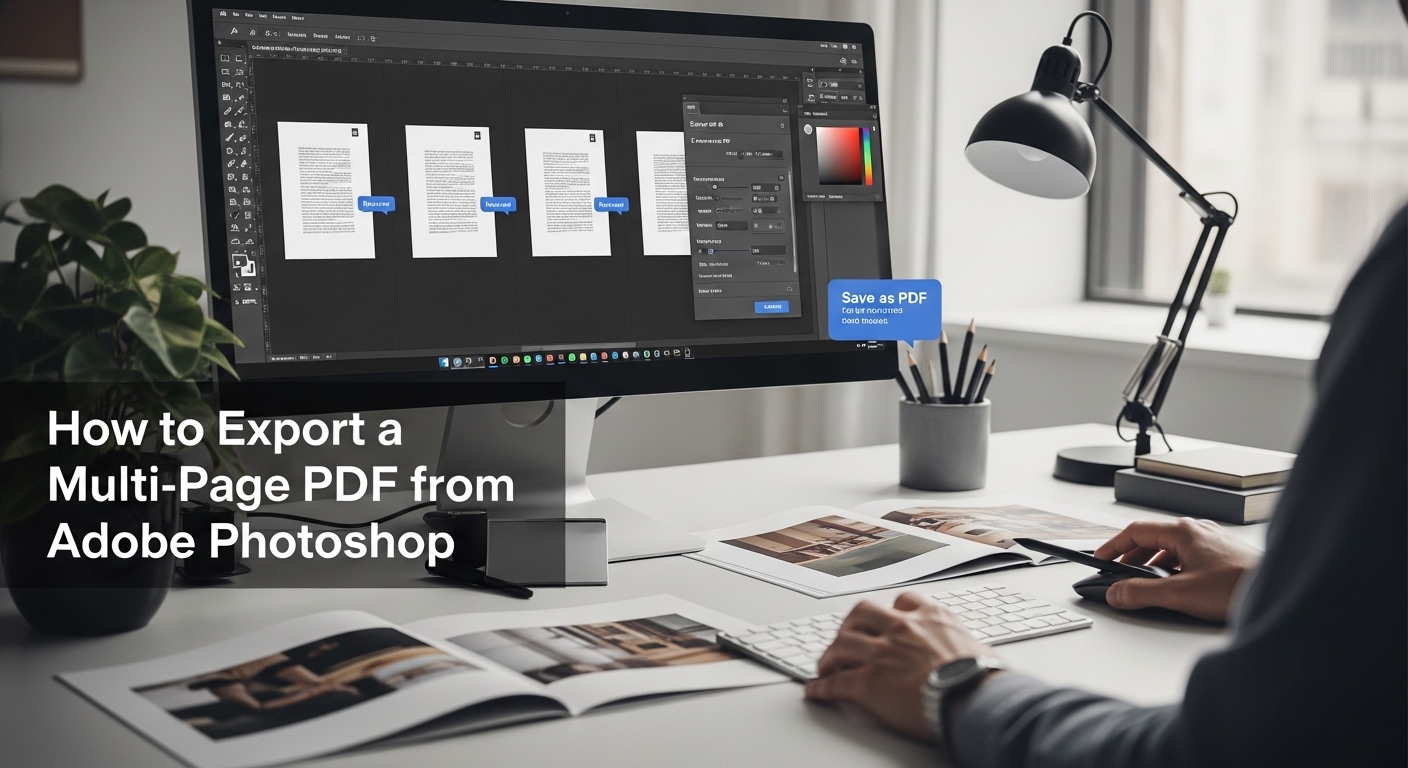
Step 3: Export as a Multi-Page PDF
Once your design is complete, you can export all artboards into a single multi-page PDF. Follow these steps:
- Go to File > Save As
- Choose Photoshop PDF (.PDF) as the format
- In the dialog box, ensure that the option to include all artboards is selected
Photoshop will automatically convert each artboard into a separate page within one PDF file, preserving the order of your artboards.
Before finalizing the export, take time to review the arrangement of your artboards in the Layers or Artboards panel, as this determines the sequence of pages in the final PDF. If needed, you can drag and reorder them to match your intended flow. It’s also wise to double-check for any hidden layers, missing images, or text alignment issues that may not be immediately obvious.
Additionally, explore the PDF settings carefully. You can adjust compression, image quality, and compatibility depending on whether your PDF is intended for print or digital use. For print projects, selecting high-quality or press-ready settings ensures sharp images and accurate colors. For digital sharing, you may want to balance quality with file size to make the document easier to upload or email.
This final step is your opportunity to ensure everything is accurate and polished. A careful review here helps you avoid common mistakes and guarantees that your multi-page PDF looks professional and functions exactly as intended.
Method 2: Using Multiple Files with PDF Presentation
Step 1: Open the PDF Presentation Tool
- Go to File > Automate > PDF Presentation
This feature allows you to merge multiple files into one PDF.
This method is particularly useful when your pages are already saved as separate files, such as individual PSDs, JPEGs, or PNGs. It eliminates the need to combine everything into a single document beforehand. Additionally, it provides flexibility for updating individual pages without affecting the entire project.
Step 2: Add Your Files
- Click Browse and select all the files you want included
- Arrange them in the correct order using the list
Each file will become a separate page in the final document.
Carefully organizing your files is essential to avoid errors in page sequence. Naming your files numerically (e.g., Page_01, Page_02) can make this process much easier. You should also double-check that all files share the same resolution and dimensions to ensure a consistent appearance in the final PDF.
Step 3: Save as Multi-Page PDF
- Choose Multi-Page Document (not presentation)
- Click Save and adjust PDF settings
This method is especially useful when your pages are already designed as individual files.
When adjusting settings, pay close attention to compression and compatibility options. These settings directly affect file size and quality. If your PDF is intended for professional printing, selecting high-quality presets will help preserve details and color accuracy.
Choosing the Right PDF Settings
Compression and Quality
When exporting, Photoshop will ask you to choose compression settings. For print, select high-quality options to preserve resolution. For digital use, you can reduce file size with moderate compression.
Balancing quality and file size is important, especially if you plan to share the PDF online. Excessive compression can degrade image quality, while minimal compression can result in large files that are difficult to upload or send. Testing different settings can help you find the optimal balance for your needs.
Color Profiles
Ensure your color settings match your purpose:
- CMYK for print
- RGB for digital viewing
Incorrect color profiles can affect how your document appears on screen or in print.
Color consistency is especially important for branding and professional presentations. Embedding the correct color profile within your PDF ensures that colors remain accurate across different devices and printers. This step is often overlooked but can make a significant difference in the final output.
Security and Compatibility
You can also set compatibility options and add password protection if needed. Choosing the right compatibility ensures your PDF opens correctly across different devices and software.
Older compatibility settings may limit certain features but increase accessibility, while newer settings offer better quality and functionality. Understanding your audience’s needs can help you decide which option to choose. Adding security features can also protect sensitive or proprietary content.
Common Mistakes to Avoid
Inconsistent Page Sizes
If your artboards or files have different dimensions, your PDF may look uneven. Always standardize sizes before exporting.
Even small variations can disrupt the visual flow of your document. Taking the time to align all page dimensions ensures a seamless reading experience and a more professional appearance.
Low Resolution Images
Using low-resolution assets can result in blurry or pixelated pages. For print, aim for at least 300 DPI.
High-resolution images maintain clarity and sharpness, especially when printed. It’s always better to start with high-quality assets rather than trying to fix resolution issues later.
Incorrect Export Settings
Rushing through the export dialog can lead to poor quality output. Always double-check your settings before saving.
A quick review of your settings can prevent common issues such as color mismatches, missing fonts, or reduced image quality. This final check is a simple step that can save significant time and effort.
When to Use Other Tools Instead
While Adobe Photoshop can handle multi-page PDFs through artboards and workarounds, it isn’t always the most efficient or scalable solution—especially as your project becomes more complex or text-heavy.
- If your project involves heavy text layout or structured formatting, consider using Adobe Illustrator or Adobe InDesign
- These tools are specifically built for multi-page documents and offer greater control over typography, alignment, and layout consistency
- Adobe InDesign is ideal for books, magazines, and reports because it includes features like master pages, automatic page numbering, and advanced text flow
- Adobe Illustrator is better suited for vector-based designs, such as presentations, infographics, and shorter visual documents
- Choosing the right tool based on your project type can significantly improve both workflow efficiency and the overall quality of your final output
Making this distinction early helps you avoid unnecessary limitations and ensures your document is created using the most effective tool available.
Exporting a multi-page PDF from Adobe Photoshop may not be straightforward, but with artboards or the PDF Presentation feature, it becomes a manageable process.
By understanding the right method and optimizing your export settings, you can create professional-quality PDFs suitable for both digital and print use.
While Photoshop may not replace dedicated layout software, its flexibility makes it a valuable option for designers who are already comfortable with its interface. With careful planning and attention to detail, you can achieve results that meet professional standards and effectively present your work.