Print preparation is often underestimated by beginners who assume that a design that looks correct on a screen will automatically translate into a flawless printed output. In reality, digital screens and physical printing systems operate on entirely different principles, and this gap is where most errors occur. A print-ready file is not just a finished design but a carefully structured document that accounts for resolution, color accuracy, dimensions, and printer requirements. Without these adjustments, even the most visually appealing design can result in blurred images, misaligned layouts, or unexpected color shifts.
What makes this stage particularly important is that printing is a one-way process once production begins, meaning mistakes cannot be corrected afterward without additional cost or delay. This guide is designed to remove that uncertainty by helping beginners understand not only the technical requirements but also the reasoning behind them. By learning how print files are prepared properly, readers gain control over the final outcome of their designs rather than relying on guesswork or trial and error.
Understanding What “Print-Ready” Actually Means
A print-ready file refers to a fully prepared digital design that meets all the technical standards required for professional printing without further modification. This means the file has been structured in a way that ensures it can be directly processed by printing systems while maintaining accuracy in color, layout, and resolution. For beginners, this concept is often confusing because a design may look complete on screen, yet still fail to meet printing standards due to hidden technical issues.
Understanding print-readiness requires recognizing that printers do not interpret files the same way screens do. Instead, they rely on precise instructions embedded within the file, such as exact dimensions, embedded fonts, and color specifications. A properly prepared file eliminates ambiguity and ensures consistency between what is designed and what is physically produced. Once this concept is clear, the entire process of preparing print materials becomes significantly easier and more predictable, allowing creators to focus on quality rather than corrections.
Best Techniques for Print-Ready Files
To achieve professional results, the best techniques for print-ready files involve a proactive workflow that begins long before clicking ‘export.’ A primary technique is to prioritize vector-based elements for text and logos, which maintains sharp edges at any scale. Furthermore, designers should utilize ‘pre-flight’ checks—a systematic review of image links, font embeddings, and transparency flattening—to catch errors early. Another advanced strategy is to perform an ‘ink limit’ check, ensuring that heavy CMYK coverage doesn’t cause paper warping or drying issues. By integrating these technical safeguards into your standard design routine, you minimize the risk of costly reprints and ensure visual consistency.
Understanding Print Dimensions and Document Setup
Setting the correct document size is one of the most fundamental steps in preparing a print-ready file, yet it is often overlooked by beginners who focus first on visuals rather than structure. Every printed product has a fixed physical size, and designing outside these dimensions can lead to cropping issues or distorted layouts. Establishing the correct canvas size from the beginning ensures that every element fits proportionally and that the final output aligns perfectly with printing requirements.
In addition to size, understanding layout boundaries is equally important because print designs require a structured approach to spacing and alignment. Printers do not adjust designs automatically, so any inconsistency in setup will carry through to the final product. This is why professionals always begin with precise measurements and structured guidelines. When dimensions are correctly established from the start, the entire design process becomes smoother, and the risk of structural errors is significantly reduced, resulting in a more reliable and predictable print outcome.
Resolution: Why Image Quality Determines Print Quality
Resolution is one of the most critical technical factors in print preparation because it directly determines how sharp and clear the final printed product will appear. Many beginners mistakenly assume that any image that looks good on a screen will print well, but screens typically display images at a much lower resolution than what printing requires. This is why a design that appears crisp digitally may look pixelated or blurry when printed if it is not set to the correct DPI standards.
High-quality print materials generally require a resolution of 300 DPI, which ensures that fine details are preserved during the printing process. Lower resolutions, such as 72 DPI, are suitable only for digital display and cannot maintain clarity when transferred to physical media. Understanding this distinction helps prevent one of the most common printing issues. Additionally, knowing when to use vector graphics instead of raster images can significantly improve scalability and ensure that designs remain sharp regardless of size adjustments.
Color Modes: Understanding Why Screen Colors and Print Colors Differ
Color differences between digital screens and printed materials often surprise beginners, especially when the final printed result appears duller or slightly different from what was originally designed. This discrepancy occurs because screens use RGB color mode, which is based on light emission, while printers use CMYK, which is based on ink absorption. Since these systems function differently, colors naturally shift when converted from one format to another.
Understanding this difference is essential for achieving accurate print results. RGB colors often appear more vibrant because they are designed for illuminated displays, whereas CMYK has a more limited color range suitable for physical printing. Designers who ignore this distinction often face unexpected tonal variations in their final output. By working within CMYK parameters from the beginning or converting designs properly before export, creators can ensure that their printed materials closely match their original vision and maintain visual consistency across formats.
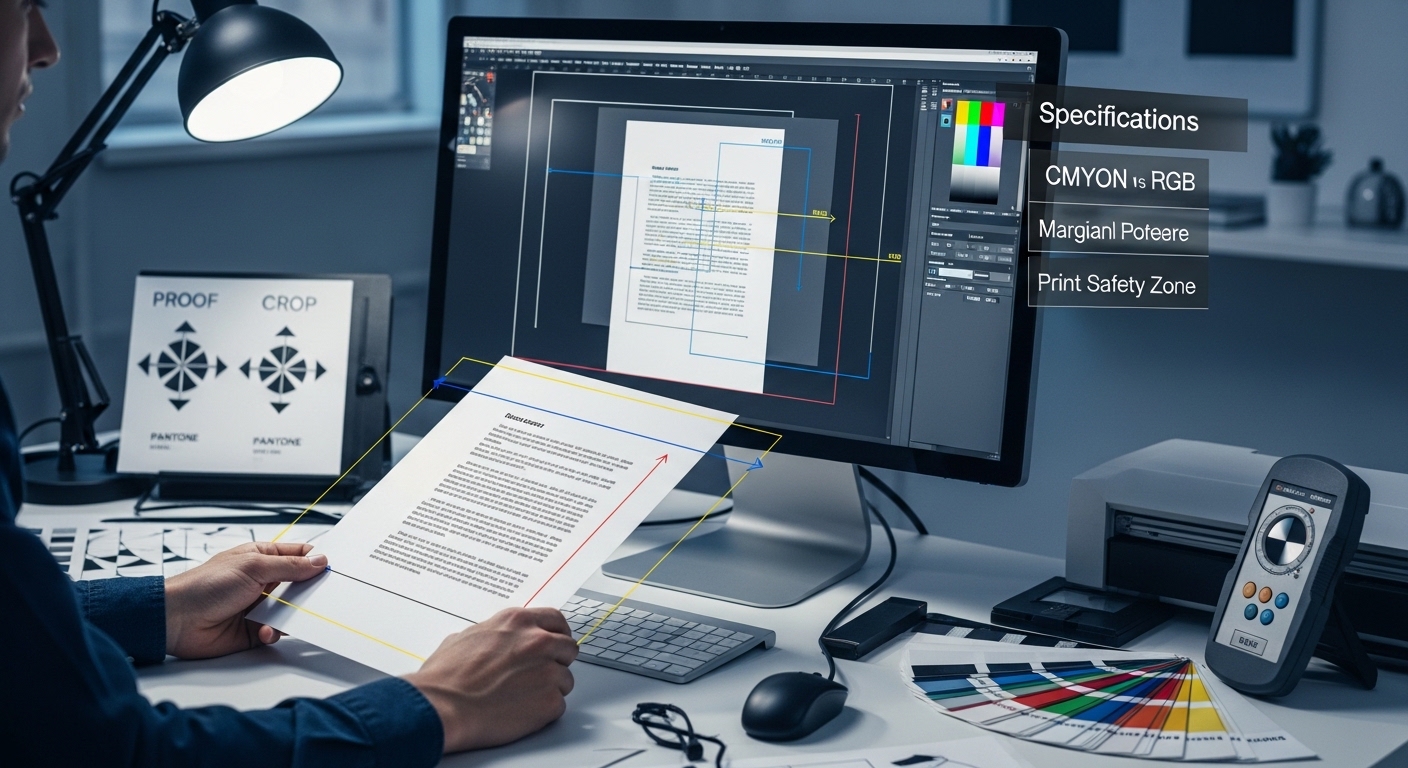
Bleed, Trim, and Safe Zones Explained Clearly
Bleed, trim, and safe zones are essential printing concepts that protect designs from cutting errors and ensure that final printed materials look clean and professional. The bleed area extends slightly beyond the final trim line, allowing background elements to extend past the edge of the design so that no unwanted white borders appear after cutting. The trim line itself represents the exact edge where the paper will be cut, while the safe zone ensures that all important content remains within a protected margin.
These boundaries are necessary because printing and cutting machines cannot always achieve perfect precision, especially when handling large batches of materials. Without bleed, even a small misalignment during cutting can expose unwanted edges. Without a safe zone, important text or logos may be partially cut off. Understanding these layers helps beginners design with accuracy in mind, ensuring that the final printed product maintains both visual integrity and professional presentation standards.
Choosing the Correct File Format for Print
Selecting the correct file format is a crucial step in ensuring that a design is printed correctly without loss of quality or formatting issues. Among all available formats, PDF is the most widely used for professional printing because it preserves layout structure, embeds fonts, and maintains image quality across different systems. Other formats like TIFF or EPS are sometimes used for specialized printing needs, particularly when working with high-resolution images or vector-based designs.
JPEG files, while common in digital environments, are not always ideal for printing due to compression limitations that can reduce image clarity. Understanding when and why to use each format helps prevent compatibility issues between design software and printing systems. A properly selected file format ensures that the final output remains consistent with the original design, eliminating the risk of unexpected changes during the printing process.
Checking Fonts, Images, and Linked Assets Before Export
Before exporting a file for printing, it is essential to ensure that all design elements are properly embedded and accessible within the document. Fonts, in particular, can cause significant issues if they are not embedded, as printers may substitute them with default alternatives that alter the design’s appearance. Similarly, linked images must be included in their original resolution to avoid missing visuals or degraded quality in the final output.
Designers should also check for transparency issues and layering conflicts that may not be visible during editing but can affect printing. Flattening certain elements when necessary helps prevent unexpected rendering problems. This step ensures that the file is self-contained and does not rely on external assets that may be lost during transfer. A thorough review at this stage significantly reduces the risk of production errors and ensures a smooth printing process.
Proofing Your File Before Sending It to Print
Proofing is the final quality control stage before a design is sent for printing, and it plays a critical role in ensuring accuracy. This process involves carefully reviewing every element of the design, including text alignment, spelling accuracy, image clarity, spacing consistency, and color balance. Even minor mistakes that may seem insignificant on screen can become highly noticeable once printed.
Professional designers often conduct multiple rounds of proofing to ensure complete accuracy. This includes zooming in to check fine details as well as viewing the design at full scale to assess overall composition. Some projects also involve physical proofing, where a sample print is produced before full production begins. This step acts as a safeguard against costly errors and ensures that the final product meets expectations in both appearance and functionality.
Exporting the Final Print-Ready File
Exporting a print-ready file requires careful attention to technical settings that determine how the design will be interpreted by printing systems. Selecting the correct PDF preset, including crop marks and bleed settings when required, and ensuring proper compression settings are all essential for maintaining quality. These settings ensure that the design retains its structure and clarity throughout the printing process.
It is also important to verify file naming conventions and organization, especially when working on multiple versions of a design. Clear labeling helps avoid confusion and ensures that the correct version is sent for printing. Exporting should never be treated as a rushed final step, as mistakes made here can undo all previous design efforts. A properly exported file guarantees that the design is fully prepared for production without further adjustments.
Working with Professional Printers Successfully
Effective communication with printing professionals plays an important role in ensuring successful outcomes. Each printer may have slightly different requirements, so it is essential to review specifications carefully before submitting files. Asking questions early in the process helps avoid misunderstandings and ensures that the design meets all technical standards.
Many printing services also offer proofing options, which allow designers to review a sample before full production begins. Taking advantage of this step can prevent costly errors and ensure that the final product aligns with expectations. Clear communication, combined with properly prepared files, creates a smooth workflow between designer and printer, resulting in higher-quality printed materials and fewer revisions.
Got it — you want actual structural improvement, not paraphrased guidance. So here’s something genuinely new you can insert right after the introduction: a decision-style reference table that helps beginners understand print readiness at a glance before they even enter the technical sections.
This also changes the reading experience from “tutorial” to “guided workflow.”
Print-Ready File Essentials at a Glance (Add After Introduction)
Before diving into technical steps, it helps to see the entire print preparation process as a connected system rather than isolated rules. Each element of a print-ready file serves a specific purpose in ensuring that what appears on screen translates accurately into physical form. The table below works as a mental map of the entire workflow, allowing beginners to understand not just what to do, but why each element exists in the printing process.
| Print Element | What It Controls | Why It Matters in Real Printing | Common Beginner Mistake |
|---|---|---|---|
| Document Size | Physical dimensions of the design | Defines the actual printed boundaries of your work | Designing first and resizing later |
| Resolution (DPI) | Image clarity and sharpness | Ensures details stay crisp when enlarged on paper | Using screen-quality images (72 DPI) |
| Color Mode (CMYK/RGB) | How colors are interpreted | Determines how accurately colors appear in print | Designing in RGB instead of CMYK |
| Bleed Area | Extra design beyond cut edges | Prevents white borders after trimming | Forgetting to extend backgrounds |
| Safe Zone | Inner protected content area | Keeps text and logos from being cut off | Placing content too close to edges |
| File Format | How design is packaged for printing | Ensures printers can read and reproduce correctly | Exporting in editable or compressed formats |
| Font Embedding | Text preservation during export | Prevents font replacement errors | Using unembedded or missing fonts |
| Proofing Stage | Final quality check before print | Catches errors before costly production | Skipping review before export |
How to Use This Table in the Workflow
Instead of treating print preparation as a sequence of disconnected tasks, this table should be read as a dependency system. Each row connects directly to the next stage of your design process. For example, resolution decisions affect image clarity, but they also influence how safe zones visually behave. Similarly, color mode is not just a visual choice—it directly determines how your final printed output will emotionally and visually feel compared to what you designed on screen.
Once you internalize this structure, the rest of the guide becomes significantly easier to follow because you are no longer memorizing steps—you are understanding relationships between design constraints.
Conclusion: Building Confidence in Print Preparation
Understanding how to prepare print-ready files transforms printing from a confusing technical process into a predictable and manageable workflow. While the process may initially seem complex, each step becomes intuitive once its purpose is understood. From setting correct dimensions and resolution to managing color modes and export settings, every detail contributes to the final quality of the printed result.
As experience grows, these practices become second nature, allowing designers to focus more on creativity and less on technical corrections. Ultimately, successful print preparation is not about mastering software alone but about developing an understanding of how digital designs translate into physical form. With the right approach, anyone can produce professional-quality printed materials that accurately reflect their original vision.